


Virtual environments are very popular and widely used in the python community, especially in fields like Data Science, Artificial Intelligence, etc. This article focuses on downloading and installing Miniconda, which is an open-source virtual environment and package management system. Miniconda is essentially a lightweight version of Anaconda, with very few packages that are initially installed. If you have never used Conda before it is recommended to start out with Anaconda.
The aim of this guide is to be an illustrative example of the official installation process stated in their website. The 3 step process stated below details the installation process for Miniconda on windows:
Step 1: Download the installer.
The first step requires the Miniconda installer to be downloaded from their official site. Before executing the install, verify the installer hashes by running the command: Get-FileHash filename -Algorithm SHA256 in a PowerShell console. This command only works for PowerShell V4 and above. For a lower version, follow these steps. After running the command, the output should be something like this:
 Figure 1: Command to verify installer hash
Step 2: Run Installer
The installer has a very simple and straightforward interface to obtain the installation permissions and configuration. The advanced option section asks to add Miniconda to the PATH environment variable and to register Miniconda as the default python.
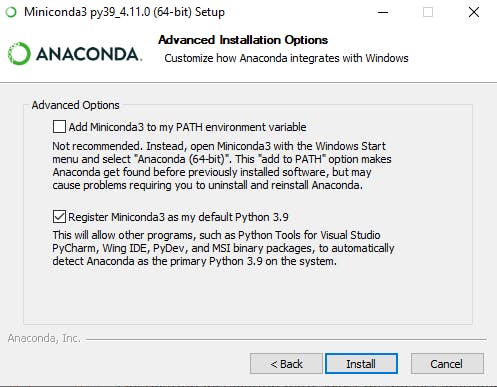 Figure 2: Advanced option section of the Miniconda installer
Adding Miniconda to the PATH environment variable can also be done manually, if it was not already added through the installer. To do this start an instance of Anaconda prompt, and enter the command where anaconda. Figure 3 shows the output of the command that shows the path to the anaconda directory.
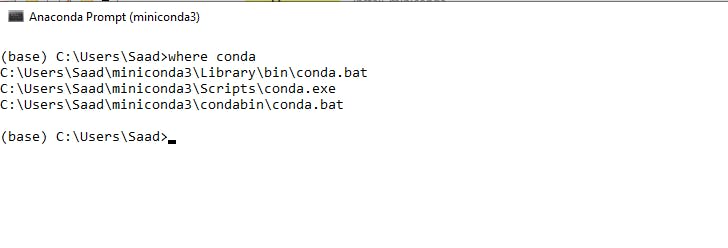 Figure 3: Command to view the anaconda directory
Take the path to the conda.exe and add it to the path variable. Figure 3, 4 and 5 shows how to locate and edit the path variable.
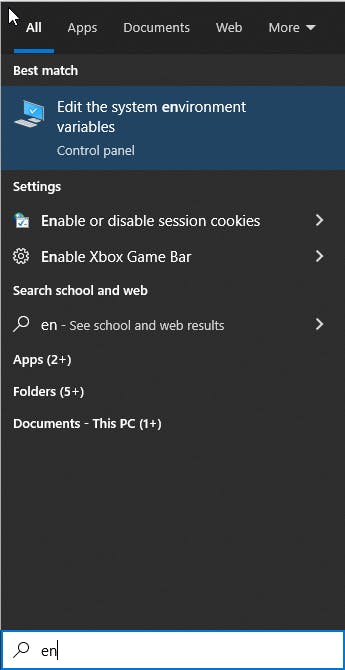
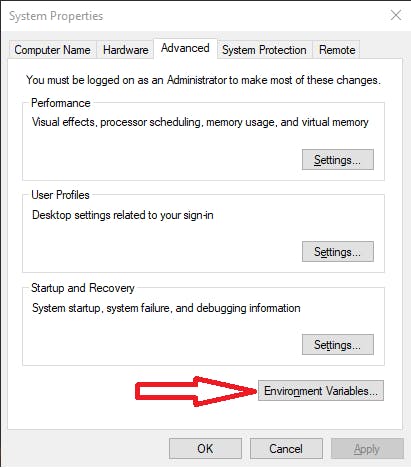
 Figure 3, 4 and 5: Steps to edit the PATH variable
Step 3: Initialize conda for command prompt and powershell
After adding conda to the PATH variable, conda can to be initialized for command prompt and powershell. This enables powershell and command prompt to use conda to perform certain tasks such as creating or activating new environments. To initialize run conda init cmd.exe for command prompt and conda init powershell for powershell.
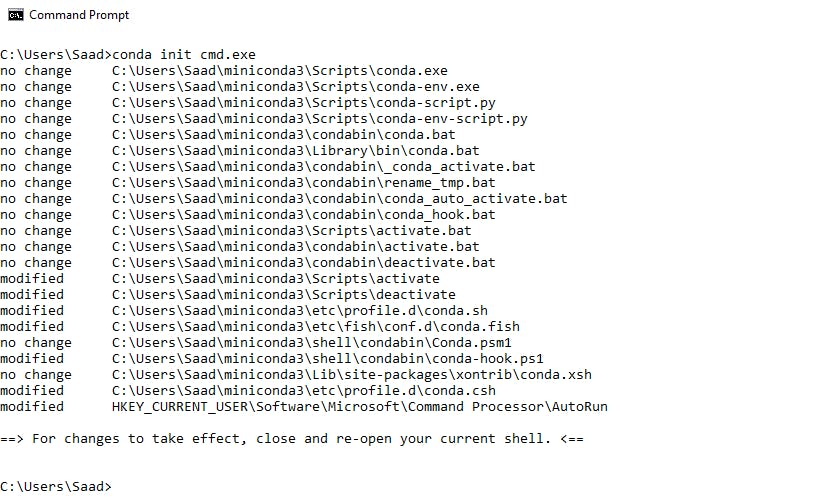 Figure 6: Conda initialization on command prompt.
Conclusion
Miniconda or Conda in general, can be a great tool for managing different versions of packages and dependencies on separate software environments. This article demonstrates 3 easy steps to download and install Miniconda. It also talks about how to add Miniconda to the PATH variable and initialize it for use through command prompt and powershell.
P.S., I am new to blogging and would love your feedback on the concepts discussed, the writing, the blog style or anything regarding this blog in general. Thanks for reading.